
Rocking around the Santa Sleigh...
- Mischief&Marauders

- Dec 23, 2018
- 3 min read
Updated: Dec 16, 2020

So this year has been a very interesting year, with a change in jobs and a whole new set of colleagues, some helpful and some not so. Rather than buying a traditional generic Christmas card; I thought I'd love to make something to show my gratitude and ease myself back into the crafting buzz.
As an avid Pinterest'er and Facebook scourer I've been in the Festive mood since late September and love seeing the creativity of the Yanks. After seeing a series of gifting ideas I thought I'd take some creative license and compile a list of festive ingredients, and by doing so create a Yuletide treat that would make any sweet tooth person call the nearest dentist.
For this project I used the following:
1) Lindt Santa
2) Mini Smarty boxes x 3
3) Wagon wheel (non jam kind)
4) Chocolate coins x 3 (2 big and 1 small)
5) Kinder mini x 3
6) Strawberry or Mint Candy Canes x 2
7) Gold Hessian Ribbon
8) Sellotape/ hot glue

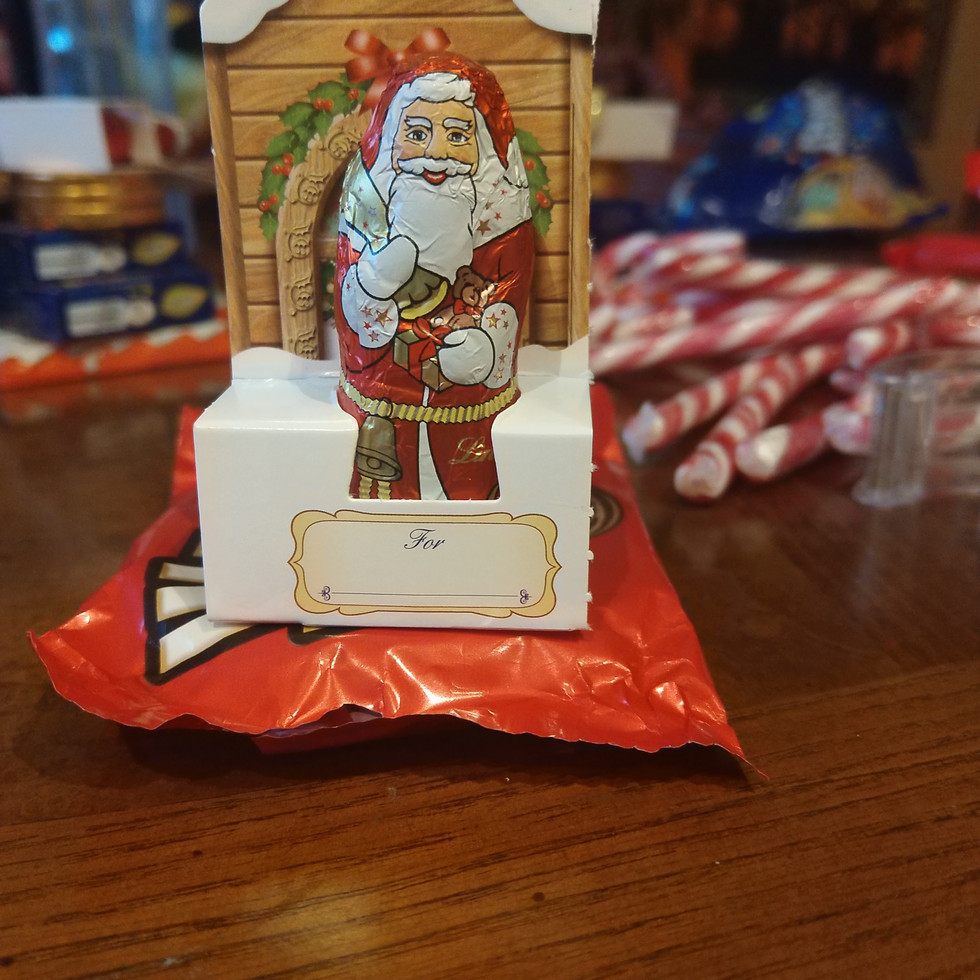


So the first step in creating these magical treats in using hot glue or sellotape to attach the Lindt Santa box to the Wagon wheel base. Make sure it's as close to the edge as possible so you have enough space to attach the Kinder base you'll make next.
I'd suggest removing the Santa before you put the base down as it gives you a better area space to work with; particularly if you don't have nimble hands and don't want to have to repeatedly rip parts of the cardboard whilst fidgeting.
Pick up the Wagon wheel and attach the Candy Canes one at a time using the Lindt Santa packaging as a guideline and reinforcement element.


Place the 3 Kinder Chocolates on the white sides facing downwards and combine the Orange sides together making a 'bridge'.
Flip the Kinders over and attach the base with sellotape or glue to the back of the Lindt Chocolate packaging.
Once safely secured, combine two Smarties boxes side by side and one on top. I'd suggest you reinforce on the widest parts to ensure it stays together and once you're happy then secure it on top of the Kinder base.

Place 2 coins; 1 big and 1 small with the larger one on the bottom on top of the Smarties pyramid and secure it firmly.
Carefully take the third coin and attach to the front of the sleigh between the cardboard and the Santa.
Lastly measure out about 30cm of ribbon and carefully slide it under the sleigh and position the ribbon so the you will have about 1 inch of ribbon to make a bow shape once tied on either side. Using your fingers to keep everything in place, create a double knot on top of the Sleigh ensuring the 'bow' is in the middle of the chocolate coins.
Cut off any excess ribbon and ensure nothing has slipped out of place.
Note: If gluing allow your sleigh to harden between stages and store in a safe pet and child free area.

Happy Holidays and I'd definitely give this a thumbs up for anyone looking to do a crafting activity with the kids in the school holidays.
Alternatively if you like the idea of these and perhaps don't have the time or patience to create these or would like a similar product but switching out any ingredients I'm happy to help and would happily make more of these at a reasonable price.
As always, peace out and Ciao for now!

Comments