
It's the Final Countdown: DIY Tree Advent Calendar.
- Mischief&Marauders

- Dec 18, 2020
- 3 min read

So I've been very neglectful since becoming a mum and barely focused on my creativity side. As what one would call a very "basic" person I'm obsessed with Pinterest and have so many pins of things I'd like in my home that I've lost count and often forget that I want to create these things. Now that my maternity leave is here and money can be tight, I feel having homemade things is someitmes nicer than paying big corporations money for stuff me and my family could make together and sometimes...I just can't justify doing that. So here we go: the first installment of my pin it or bin it series. The video angle makes it a bit wonky and once you add the same level of chooclate in each pillow it evens out nicely...we were silly and added additional coins into some of the pillows so it leans in some places.
So for this project you will need*:

or
- Glue gun
- Scissors
or
- Activity/Film options
- 2" start cutter (highly recommended)
*All the above have links the items I purchased or had lying around the house - You may find cheaper places than this, but prices were correct at time of making
Step 1: Create 24 Pillows.
Using your fingers bend inward the end of one of the sides of the rolls.

Bend the other side of the roll to make a flap on each side.

Repeat the process on the opposide side to create a "pillow".


Step 2: Glue down the folds
Glue down the folds on one side only. Otherwise you won't be able to put your goodies into the parcels!

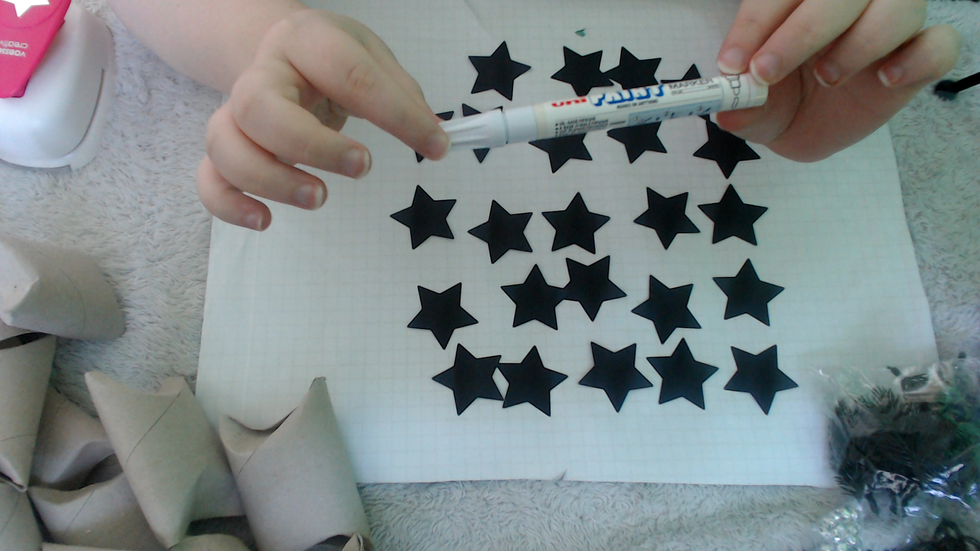
Step 3: Cut out 24 Stars
Using either your Star cutter or hand drawn stencil, cut out 24 stars from your black card.

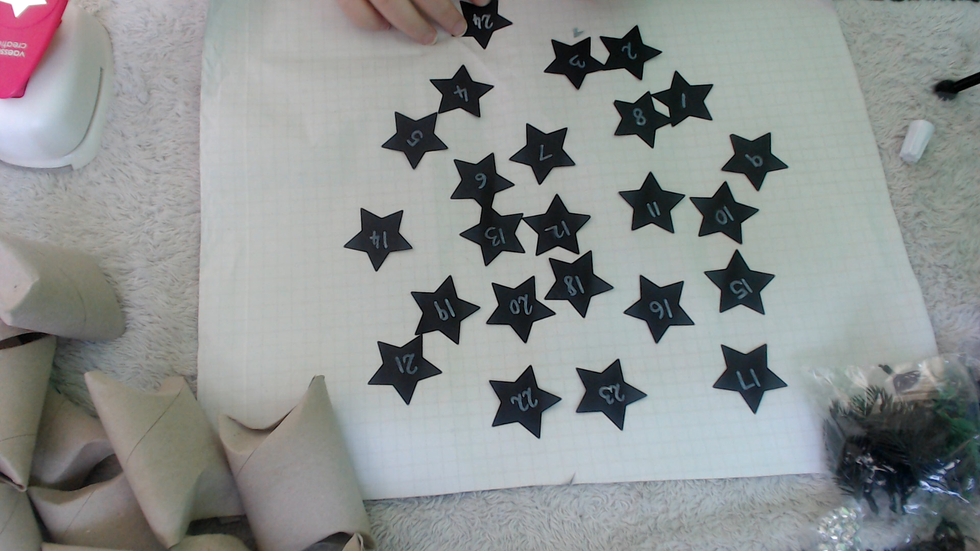
Step 4: Mark the Stars 1-24
I found that using a white marker made the colours pop - but you can use a metallic pen that will compliment the colour ribbons you're using.


Step 5: Use a pen or a knife to make holes in the top of the stars

Step 6: Measure how much ribbon you need per pillow and cut it to size

Try use different ribbons on different days to give some variety to the overall aesthetic.

Step 7: Using a pen or your hands, thread the stars onto the Ribbons

Step 8: Glue the ribbons with the stars onto the pillow cases

Use your scissors to cut off any extra tail once you've glue down the ribbon. I'd recommend using hot glue to stick the ribbon down. Fold the flap down before pulling the ribbon down to ensure it's not too short if you need to cut any trimmings off.


Step 9: Glue bells onto the tree branches or on the ribbon


Step 10: Glue the branches onto the ribbon

Step 11: Let the glue set for 5-10 minutes before gluing into desired shape

Step 12: Connect the shape by gluing onto a long ribbon

Step 13: Fill with chocolates.

As you can see it leans slightly in differnt angles. This is due to having more chocolate in certain days than others. to keep it in clean lines ensure weight is evenly distributed.
Price factor: ★★★
Difficulty factor: ★★
Fun factor: ★★★★
Overall I feel like this was a win, so definitely a pin it idea...
Happy Eating and as always...
Ciao for Now!

Comments